Benefits of making bread in an air fryer
Compared to conventional ovens, air fryers heat very fast and cook faster. Thus, you can always have fresh bread for a shorter period.
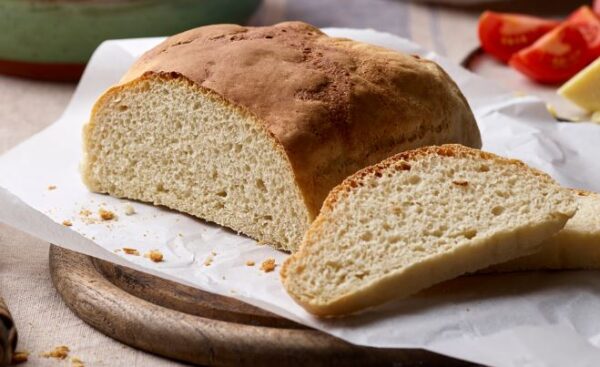
The hot air inside an air fryer circulating the bread makes it have a crispy crust at the edge, like its crumbly texture, so homely just like fresh from a bakery.
You get to control the ingredients, meaning fewer preservatives and other unhealthy additives typically found in store-bought bread. It usually has a non-stick surface so it will clean up faster than a traditional oven.
You do have to be very creative with the air fryer; you can add herbs and spices or even cheese to your dough for other tastes.
The perfect dough recipe
Here is a very simple one needing minimal ingredients and time:
Ingredients:
– 2 cups all-purpose flour
– 1 tablespoon sugar
– 1 teaspoon salt
– 1 tablespoon baking powder
– 1 cup warm water
– 2 tablespoons olive oil (optional)
Instructions
1. Combine dry ingredients: Pour flour, sugar, salt and baking powder together into a large bowl.
2. Add wet ingredients: Gradually pour in warm water and olive oil into the mix until dough forms.
3. Light kneads: On a floured surface, transfer the dough and knead for a few minutes until smooth. Overdo it? No way! Just a quick one is good enough!
Now comes the fun part. Shape your dough into a round loaf or roll. For that rustic look, score the top with a knife in a pattern to give it an inviting appeal. This also helps to bake evenly besides being aesthetically pleasing.
Preheat your air fryer to 350 degrees F. Take about five minutes to let it preheat. Timing is critical before the bake, and if you miss that step, your bread might start cooking too slowly.
Place the shaped dough in the basket of the air fryer. You can add as many as it can accommodate. A slightly bigger loaf fits just snugly, and smaller rolls can be more densely packed. Bake at 200°C for 15 to 20 minutes until the bread is golden brown, It should create hollow sounds when tapped on the bottom.
Cool down, enjoy
After you bake it, take it off the oven. Let it cool on the wire rack for a few minutes after baking, so that the steam can go out and the exterior crust remains crunchy. When cooled to a level that would make it easy to handle, slice it up and enjoy with butter, jam, or your favourite spread.
Tips for the best air-fried bread
– Try out flavour: Add herbs, cheese, or spices into your dough for a boost in flavour
– Do not overcrowd: Keep the pieces apart to cook evenly in a basket
– Observe closely: Air fryers are different from one another in terms of efficiency, but keeping an eye on bread will prevent over-baking.
Making bread using an air fryer is really easy, yet it is just so wonderful to make fresh, homemade goodness without all the fuss. So, gather your ingredients, wake your inner baker, and enjoy the aromatic smells wafting through your home as you bake. Happy baking!
